It is actually quite simple to add two-factor authentication to Wordpress.
First download and install the http authentication plugin for Wordpress. This plugin allows you to use your webserver for authentication, in our case Apache. We've already covered how to add two-factor authentication to Apache using radius
Activate the plugin in Wordpress: 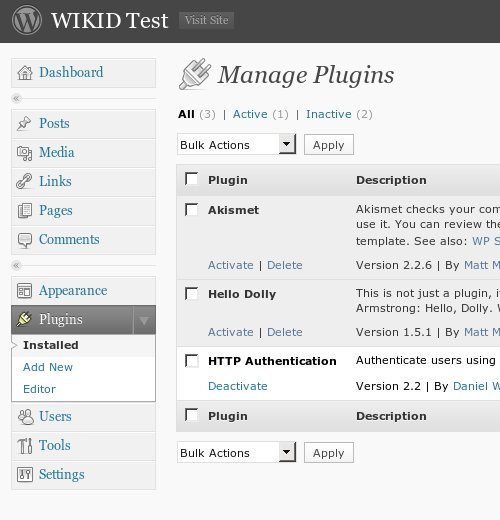
Be sure to add your WiKID username as an administrator in Wordpress. Obviously, you can add the Admin user to WiKID as well, but it might be better to have a separate account.
Now, restrict /wp-admin/ and wp-login.php in Apache:
<FilesMatch "wp-login\.php$">
   Satisfy all
   AuthType Basic
   AuthBasicProvider xradius
   AuthName "Please enter your username and WiKID one-time passcode."
   AuthXRadiusAddServer "192.168.1.171:1812" "openid_secret"
   AuthXRadiusTimeout 7
   AuthXRadiusRetries 2
  require valid-user
</FilesMatch>


<Location "/wordpress/wp-admin/">
   Satisfy all
   AuthType Basic
   AuthBasicProvider xradius
   AuthName "Please enter your username and WiKID one-time passcode."
   AuthXRadiusAddServer "192.168.1.171:1812" "openid_secret"
   AuthXRadiusTimeout 7
   AuthXRadiusRetries 2
   require valid-user
</Location>
Now when you try to access the administration section of Wordpress, you will be prompted for your WiKID username and the one-time passcode.
You can protect the entire blog by making the location /wordpress/. You should also be able to use the WiKID Strong Authentiction Community Edition server and mod_auth_ldap instead of Radius.