(NP: IAS is the radius plugin for Windows Server version prior to 2008. For Windows Server 2008, IAS was renamed NPS. We also have documentation on using NPS to process two-factor authentication requests.)
Start by configuring IAS to proxy one-time passcodes
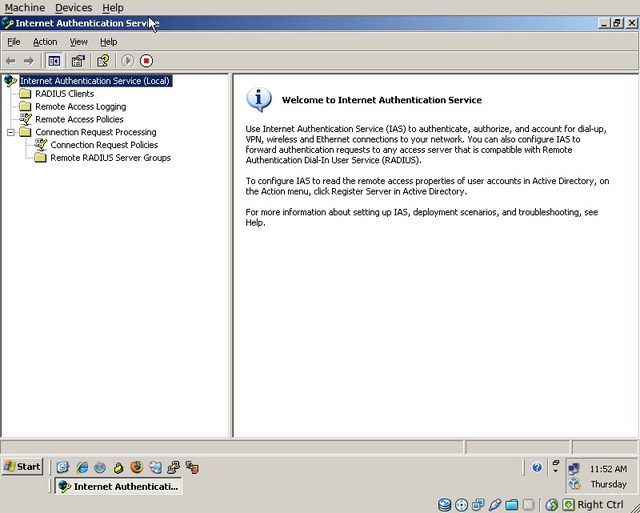
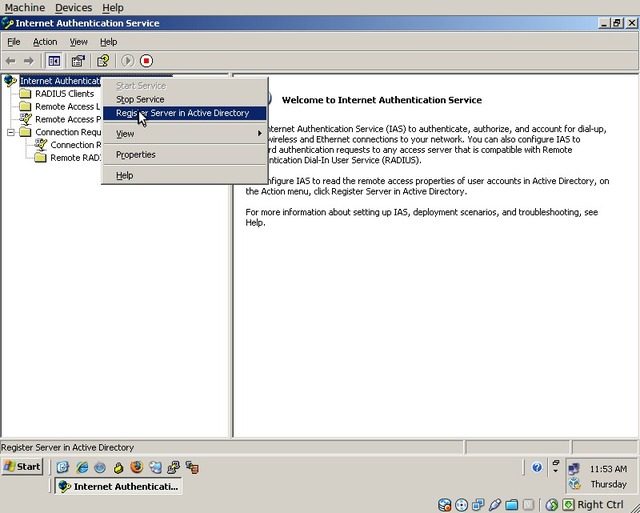
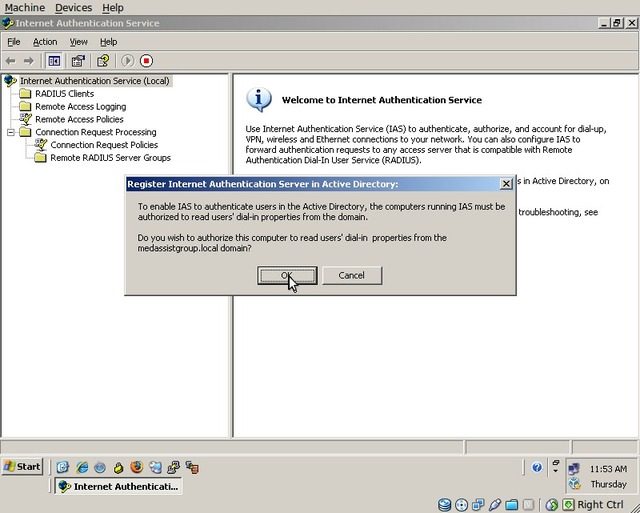
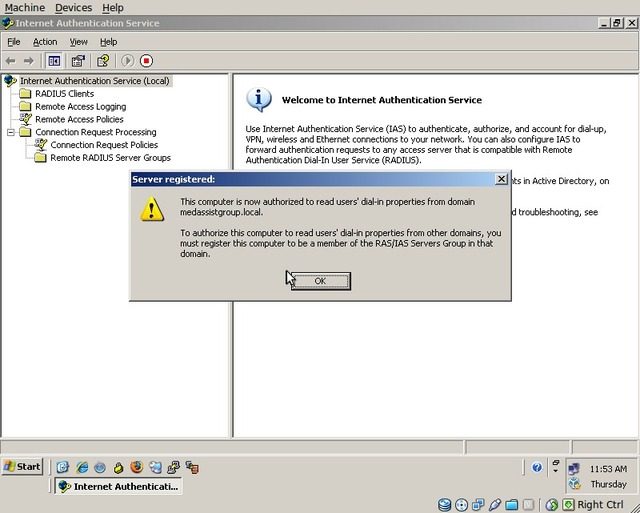
Ensure that the IAS/RADIUS server is registered in Active Directory
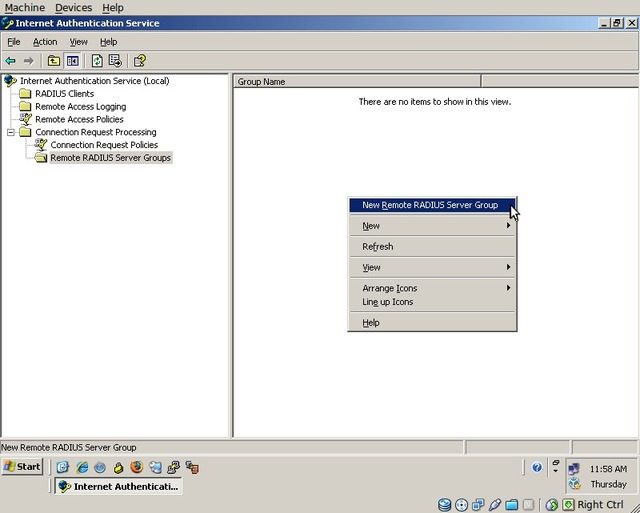
Select Remote RADIUS Server Groups
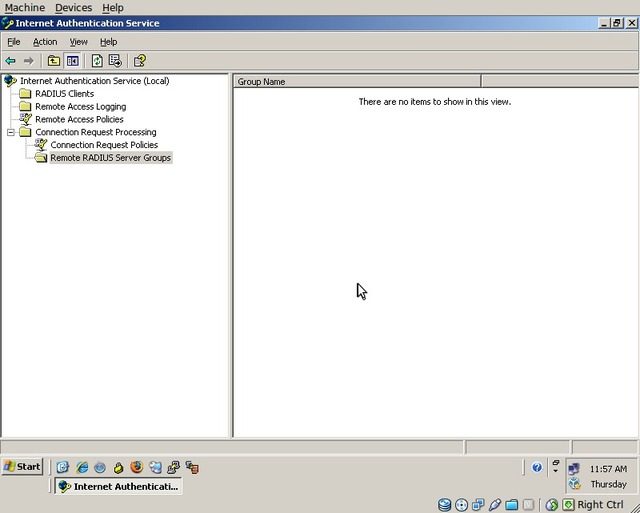
Right click on the blank area and select “New Remote RADIUS Server Group”
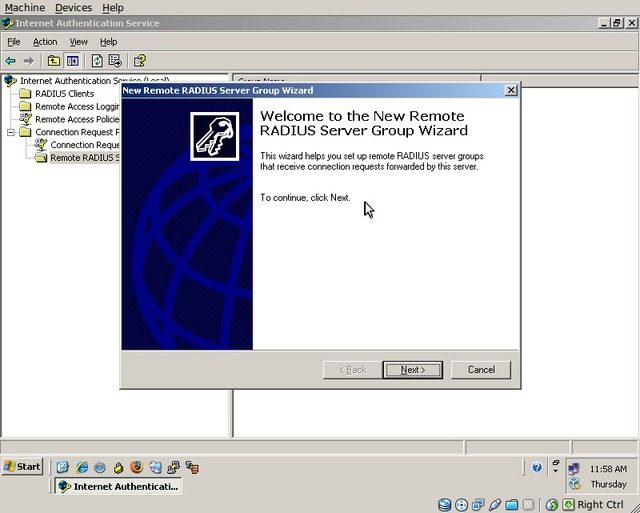
The Wizard will start, click “Next”
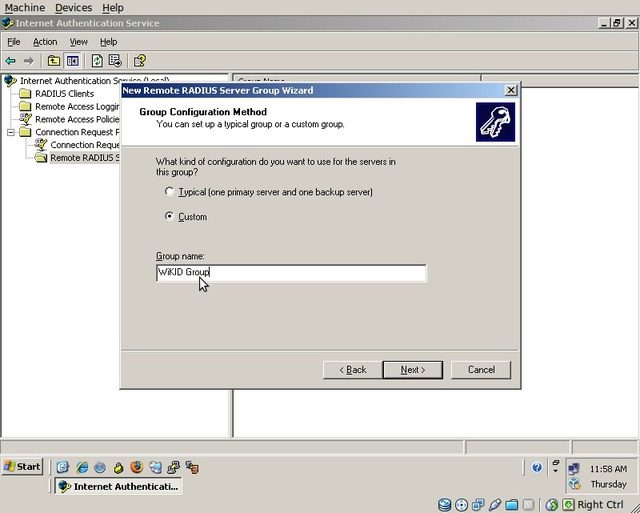
Choose “Custom” and enter the name “WiKID Group”, then click “Next”
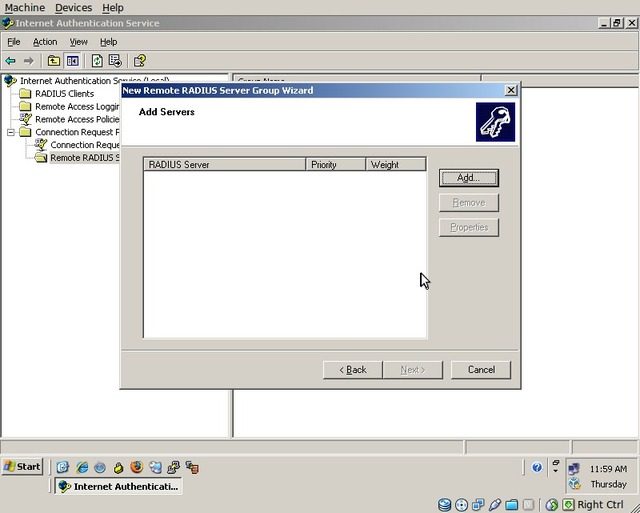
The “Add Servers” dialog will be displayed, click “Add”
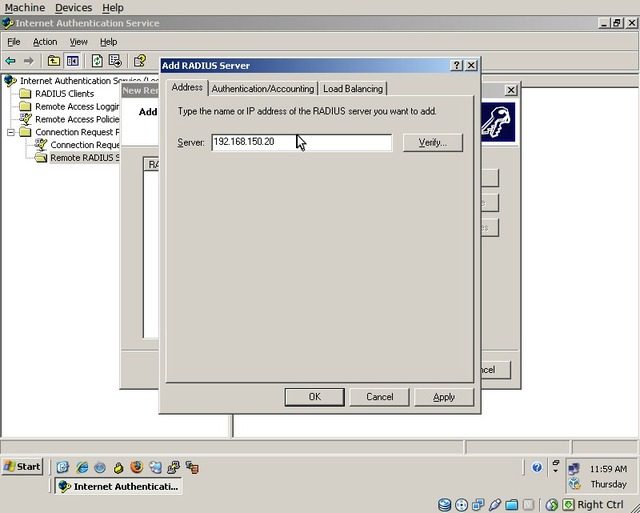
Enter the IP address of the WiKID server and then switch to the “Authentication/Accounting” tab
Set the “Authentication Port” to “1812” and enter the shared secret which will be used when communicating with the WiKID server. Also, set the “Accounting Port” to 1813 and ensure that the box for using the same shared secret is checked. The last checkbox is optional and has no functionality with WiKID.
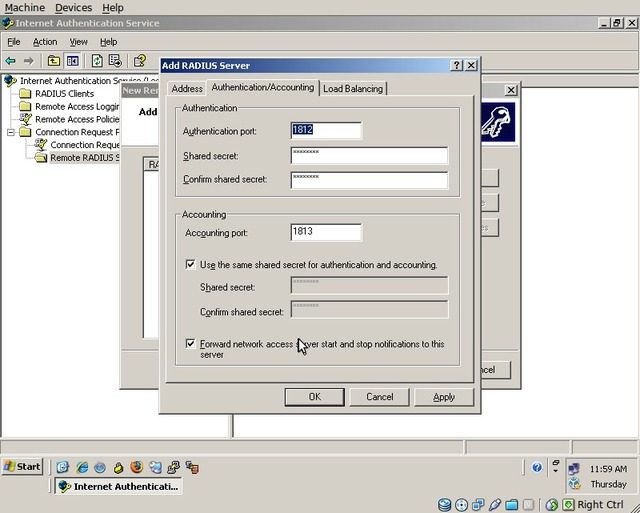
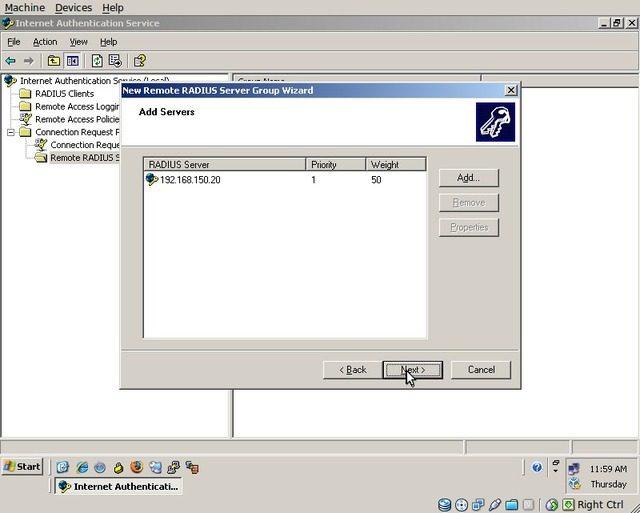
Click “Apply” and then “OK”. Finally, back at the “Add Servers” dialog, click “Next”.
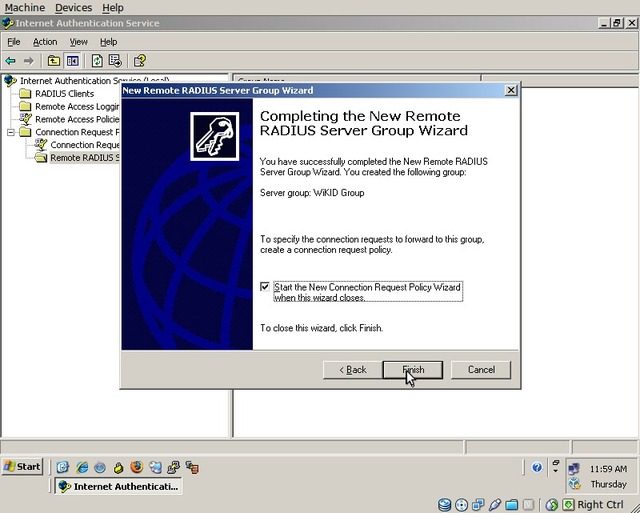
You will be prompted if you would like to start the “New Connection Request Policy Wizard”. Accept this and click “Finish”.
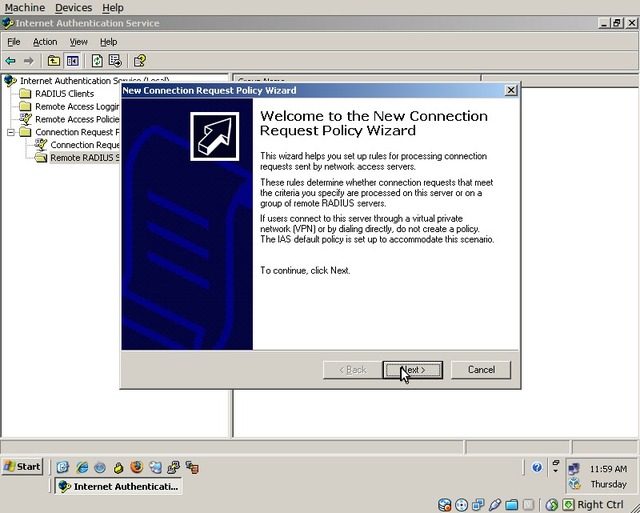
“The New Connection Request Policy Wizard” will be displayed, click “Next”
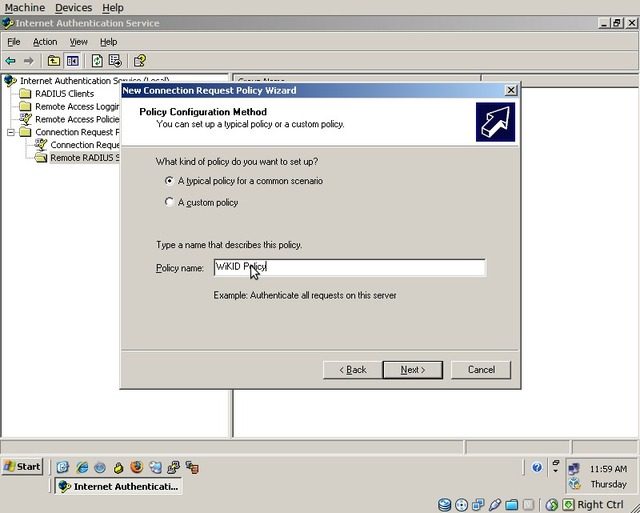
Select “A typical policy for a common scenario” and enter the policy name as “WiKID Policy”
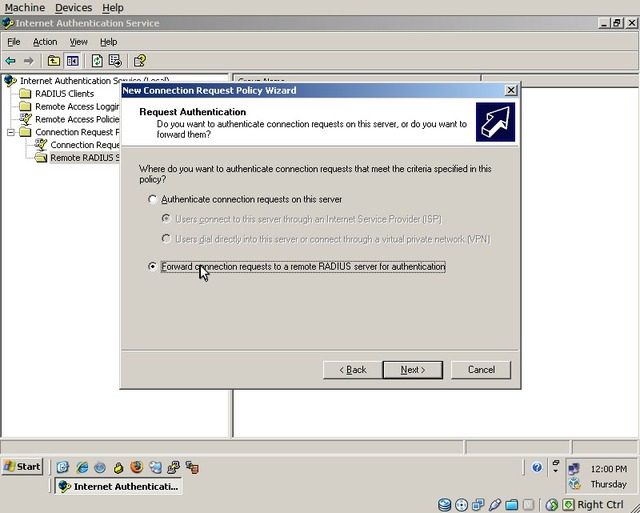
Select “Forward connection requests . . .” and click “Next”
Enter the FQDN for your Windows domain, select the “WiKID Group”, and click “Next”
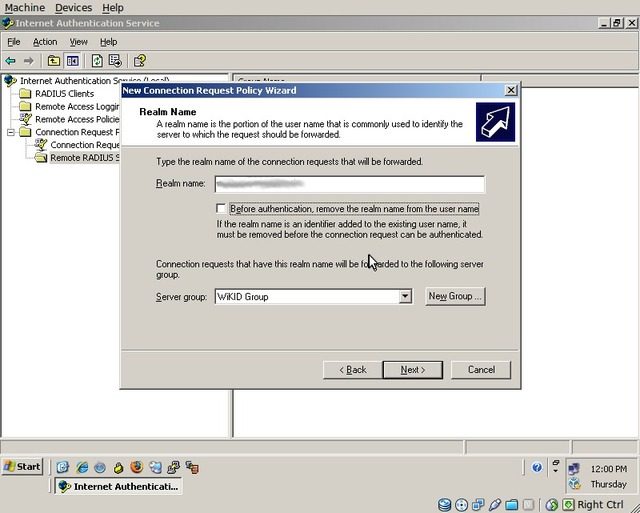
Click “Finish”

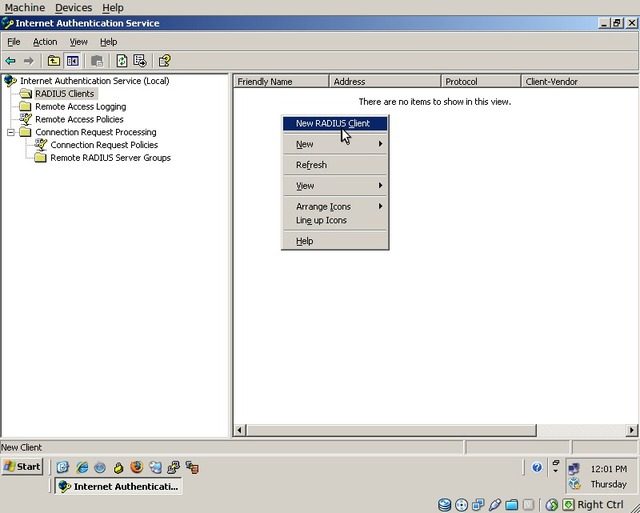
Click on “RADIUS Clients” in the navigation tree, right click in the white space, and select “New RADIUS Client”
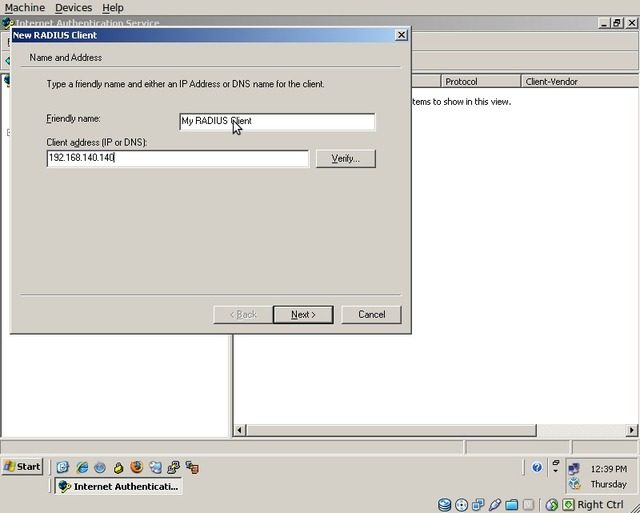
The “New RADIUS Client” dialog will appear. Enter a friendly name for the client and the client's IP address and click “Next”.
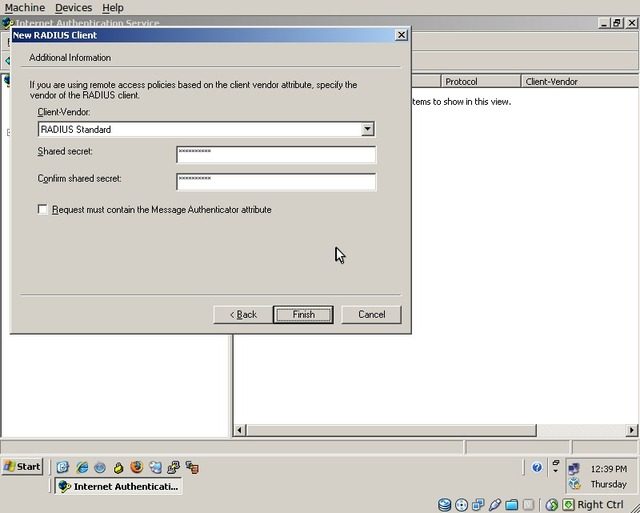
Select “RADIUS Standard” and enter a shared secret for the device to use when communicating with the IAS server. Click “Finish”.
Select “Remote Access Policies” from the navigation tree on the left, right click on the empty white space, and select “New Remote Access Policy”. N.B.: For the Remote Access Policy to apply properly, ensure that you are running your domain at 2003 functional level or higher.
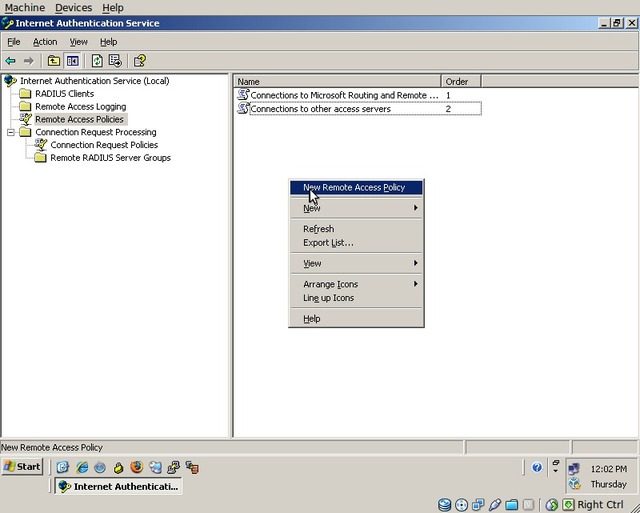
The “New Remote Access Policy Wizard” will appear, click “Next”.
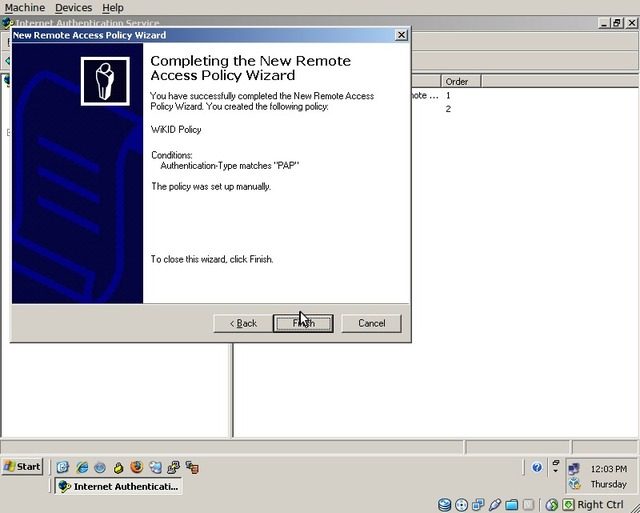
Select “Set up a custom policy” and enter the policy name as “WiKID Policy”. Click “Next”.

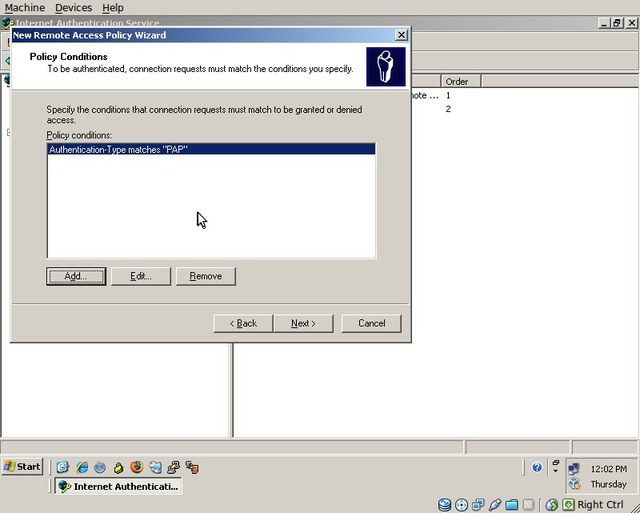
Add a policy condition of “Authentication-Type” as “PAP”. Click “Next”.
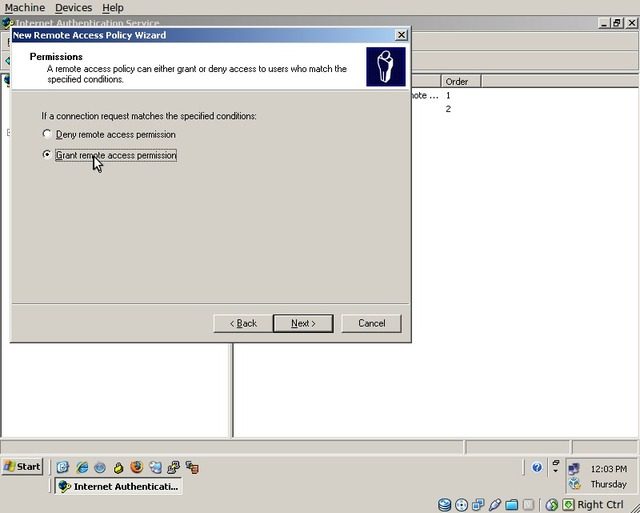
Select “Grant remote access permission” and click “Next”.
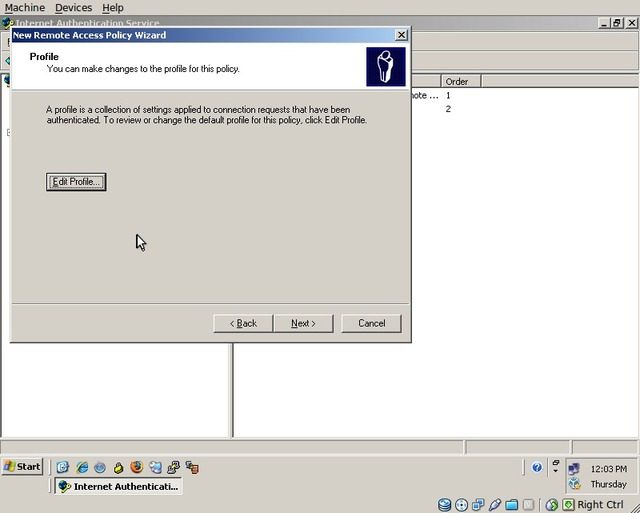
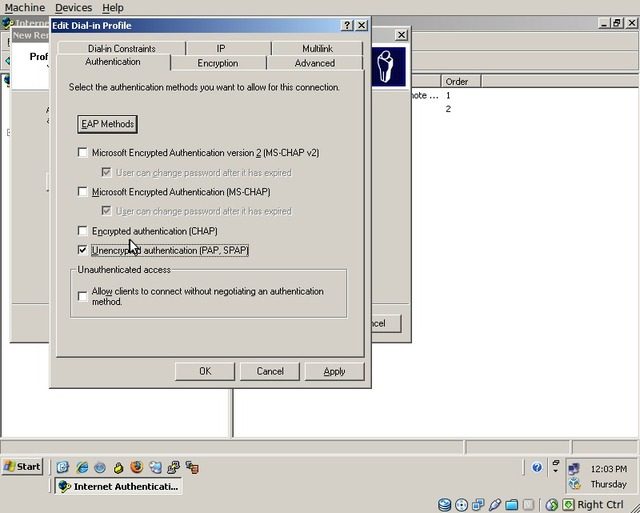
Click “Edit Profile”.
On the “Authentication” tab, uncheck all options except “Unencrypted authentication (PAP, SPAP)”.
On the “Encryption” tab, uncheck all options except “No encryption”.
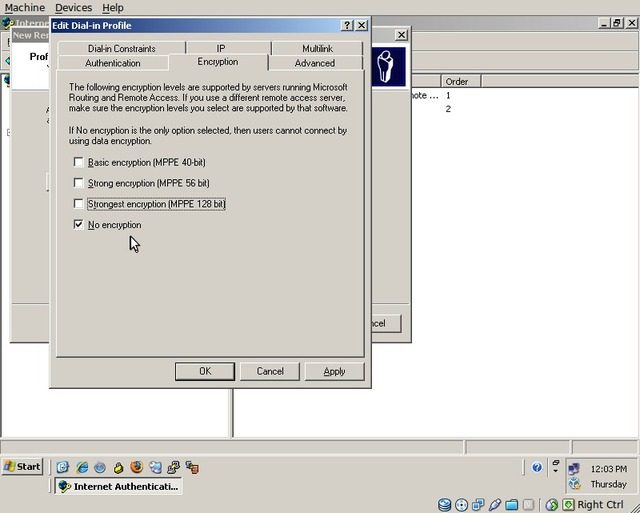
Click “Apply” and then “OK”. Back on the Wizard dialog, click “Next” and then “Finish”
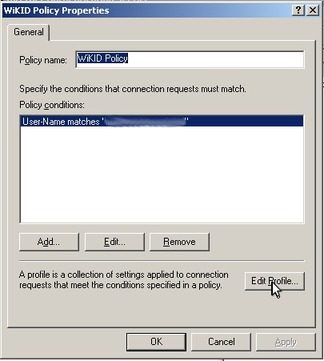
In the navigation tree on the left, click on “Connection Request Policies” and then double-click on the “WiKID Policy”.

The “WiKID Policy Properties” dialog will appear. Click “Edit Profile”.
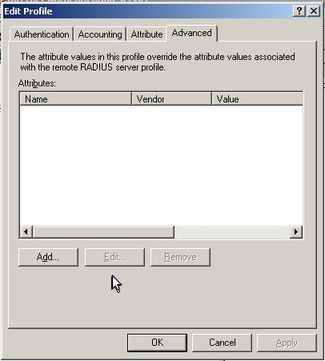
On the “Edit Profile” dialog, go to the “Advanced” tab and click “Add”.
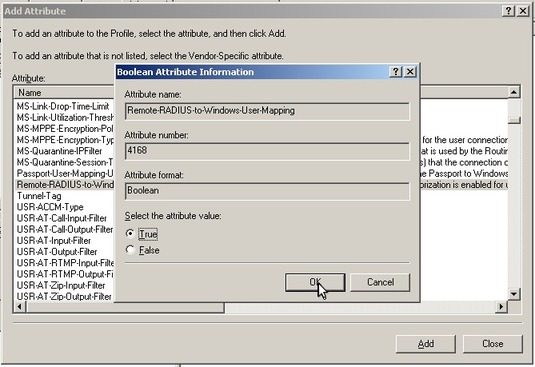
Find “Remote-RADIUS-to-Windows-User-Mapping”, double-click it, select “True” and click “OK”.
Click “Close”. On the “WiKID Policy Properties” dialog, click “Apply” and then “OK”.
Add the IAS Serve as a Network Client on the WiKID server
Log on to the WiKID server via the HTTPS interface: https:///WiKIDAdmin/
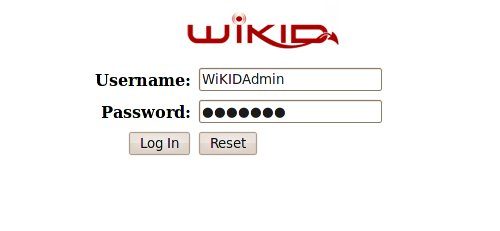
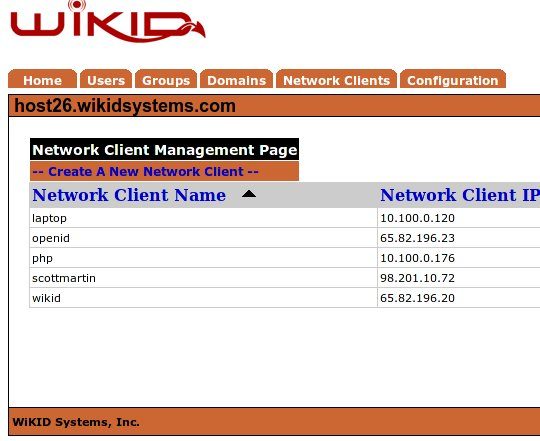
Log in as an administrator. Click on “Network Clients”
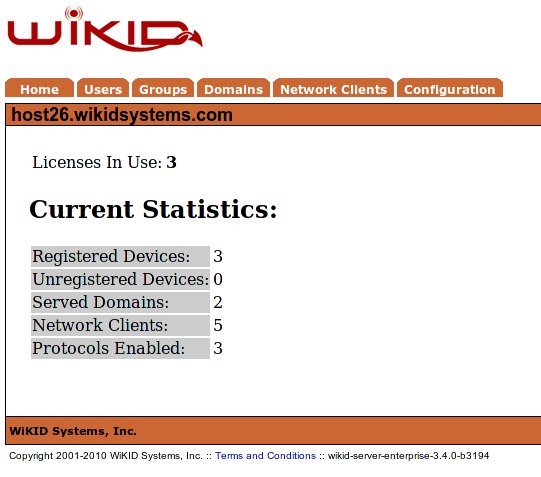
Click “Create A New Network Client”
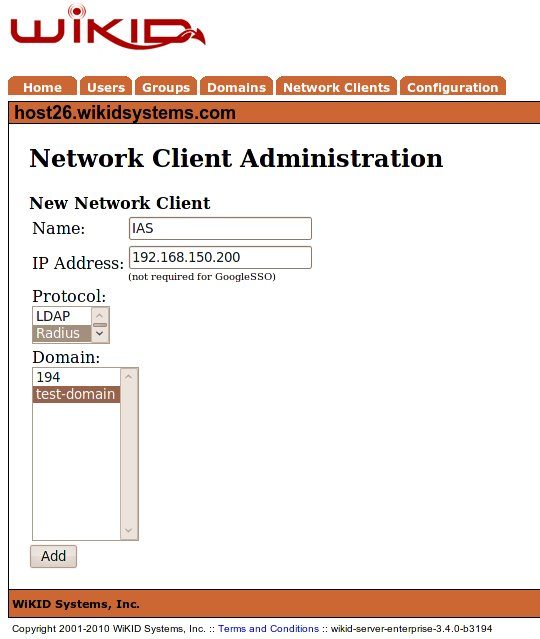
Enter a friendly name for the client, enter it's IP address, choose “RADIUS”, select the appropriate domain, and click “Add”.
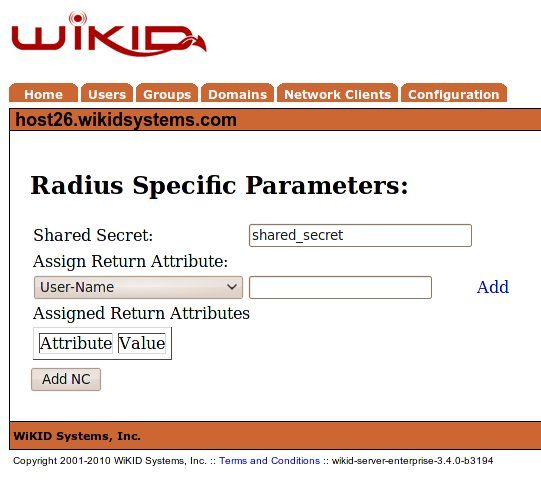
Enter a shared secret for the IAS server to communicate with the WiKID server (This should be the same as configured earlier inside of IAS.
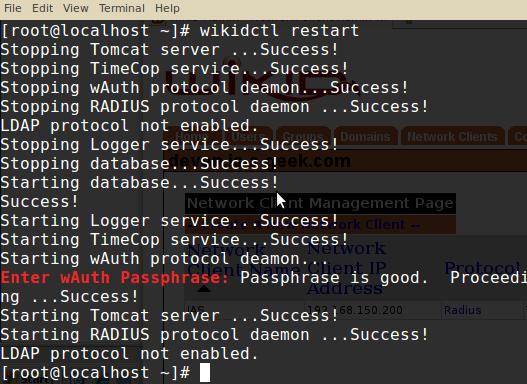
Log on to the WiKID server as “root” and run the command “wikidctl restart” in order to apply the RADIUS server settings.

You will be prompted to enter the certificate store passphrase. Type it in and press enter to complete the restart.
At this point, any client you configure inside of IAS as a RADIUS client with PAP authentication will be AUTHORIZED against Active Directory and AUTHENTICATED by WiKID!