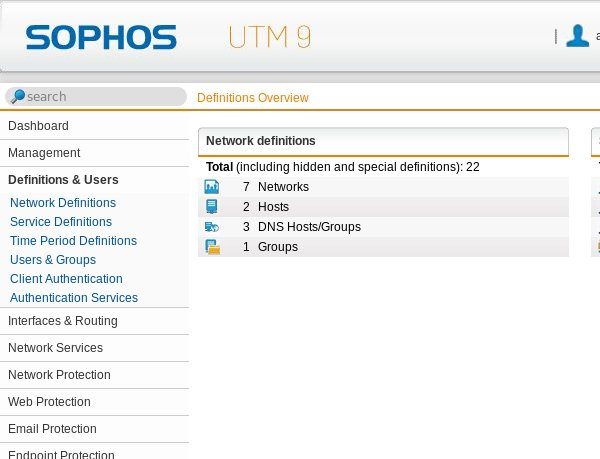
Start by logging in to your Sophos (formerly Astaro) UTM admin interface on port 4444. Select Definitions and Users. With the Sophos UTM, you first create a group of users and then assign those users to a service such as an SSL VPN. For this test, we chose to create the users automatically - a checkbox on the Authentication Services/Global Settings page.
Click on Authentication Services and the Server tab.
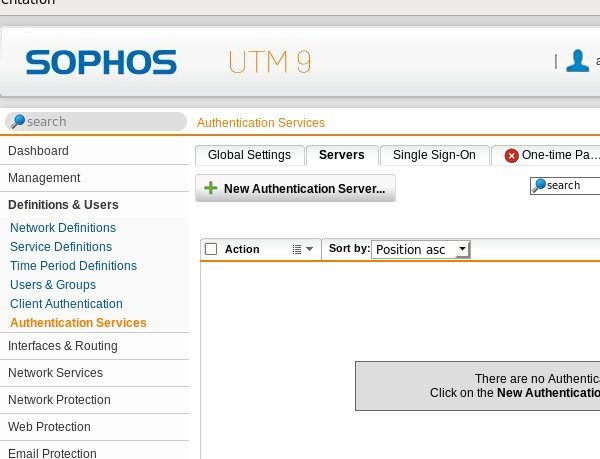
Click on New Authentication Service.
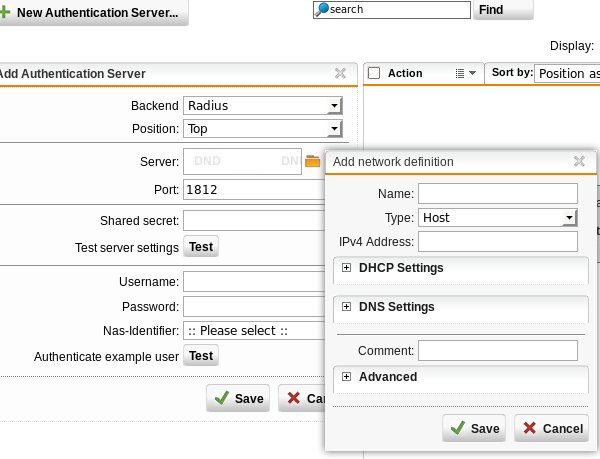
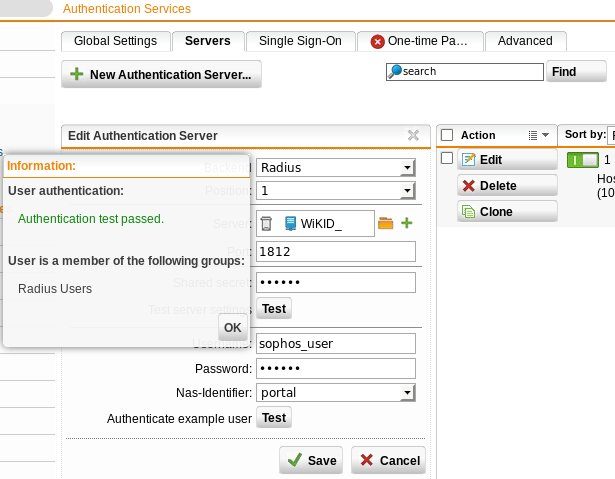
Select Radius as the back end and click the plus button to add a new network definition. Enter a name, such as WiKID or NPS. If you are using a RADIUS server in the middle (as recommended) you would enter it here. For simplicity and testing, we are just entering the IP address of the WIKID server which supports the RADIUS protocol. Enter the IP address for the server and click save. Enter a shared secret for this Radius server. You will need to enter this shared secret on the Radius server too. Note that there is an option to test, but first we need to add the Sophos UTM to the WiKID server as a network client.
Configuring the WiKID Server.
We assume you have installed your certificates and created a domain on your WiKID server. Select the Network Client tab and Create a New Network Client.
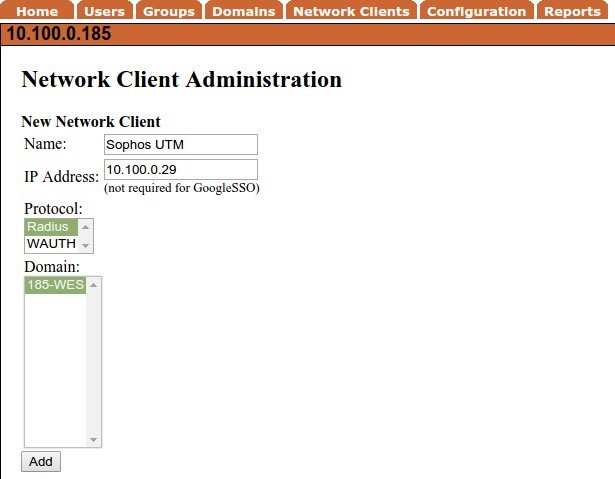
Give a descriptive name and enter the IP address. (Note that this would be the IP address of your Radius server if you were using one.) Select Radius as the protocol and chose the domain of users that will get VPN access. Click Add.
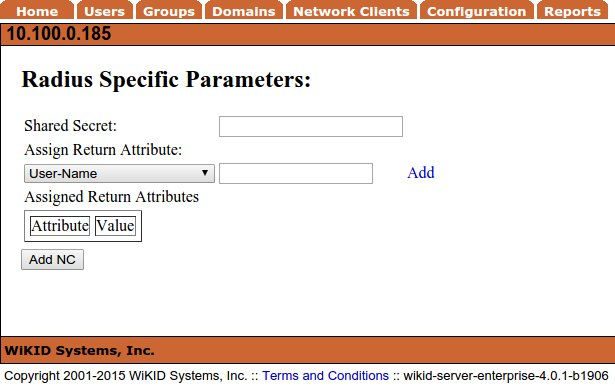
Enter the same shared secret as you did on the Sophos UTM and click Add NC.
That's it. You should now be able to test the Radius connection on the UTM using a valid WiKID username and one-time passcode (OTP). You should see "Authentication test passed".
You are now ready to configure an SSL VPN or L2TP VPN for two-factor authentication.