This tutorial demonstrates how to implement two-factor authentication in your Windows network using NPS. Note that the users will login with their WiKID one-time passcode and their AD/WiKID username (which must be the same, without a domain). NPS will perform authorization based on the username and WiKID will perform authentication with the username and OTP.
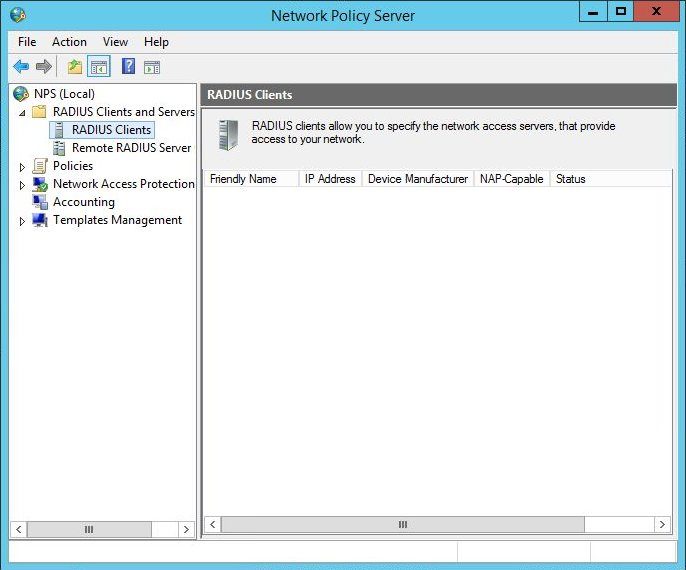
We assume you have the server role NPS installed.
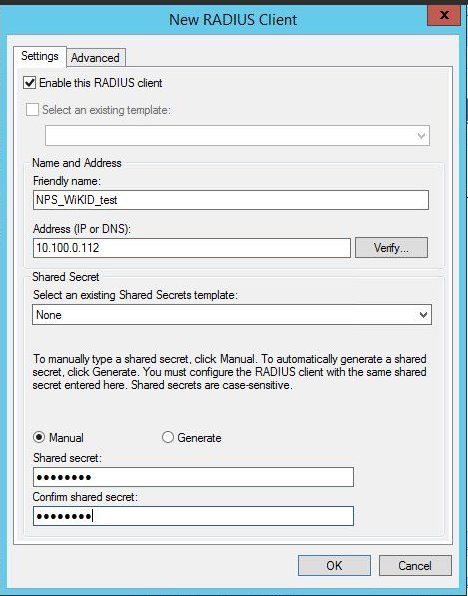
Right click Radius Client and select new. Use the IP address of the server or service to which you are adding two-factor authentication, such as your VPN or a Linux server.
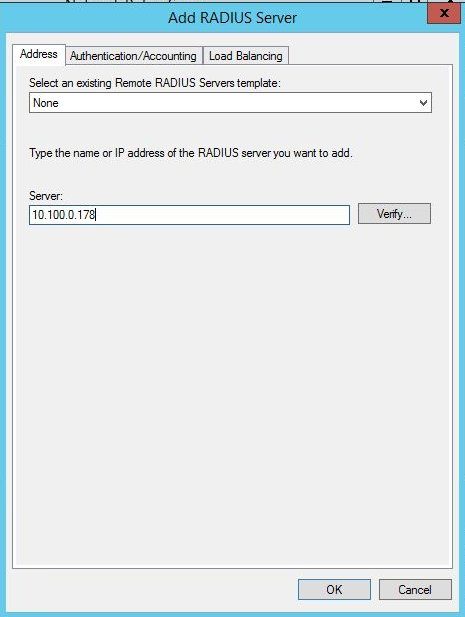
Right click on Remote Radius Server and select New. Give it a name such as WiKID. Enter the IP Address of your WiKID server.
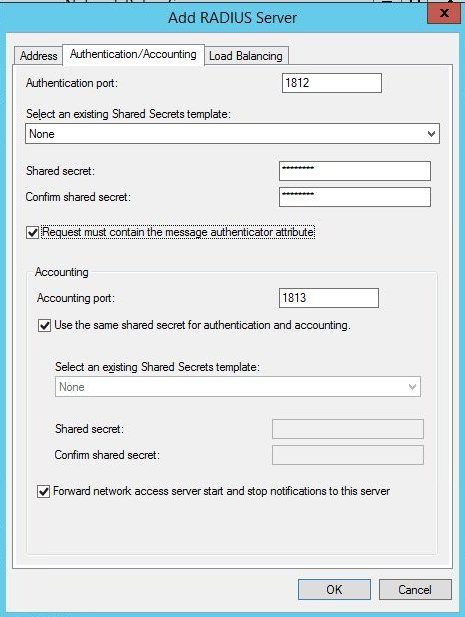
Enter a shared secret. This is the same shared secret that will be entered on the WiKID server in the Network Clients tab. Check the box "Request must contain the message authenticator attribute".
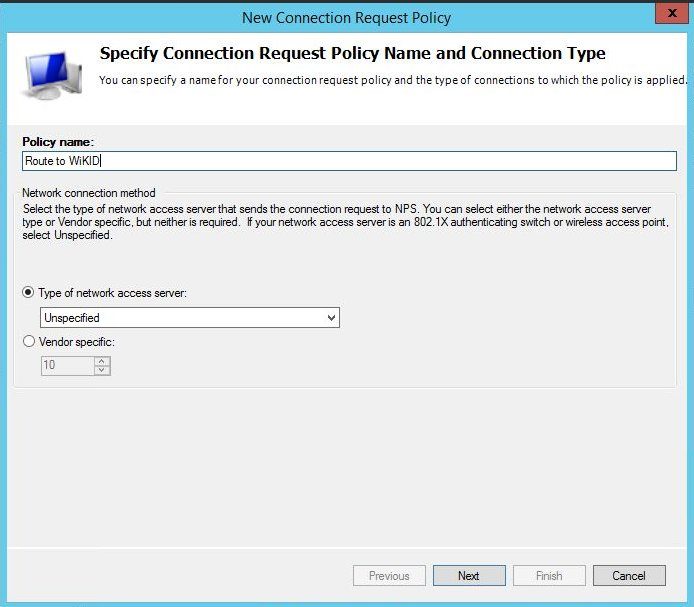
Click OK. Now we need to create a policy that will use these RADIUS settings. Right click on Connection Request Policy and Select New. For this the type of network server was left as unspecified.
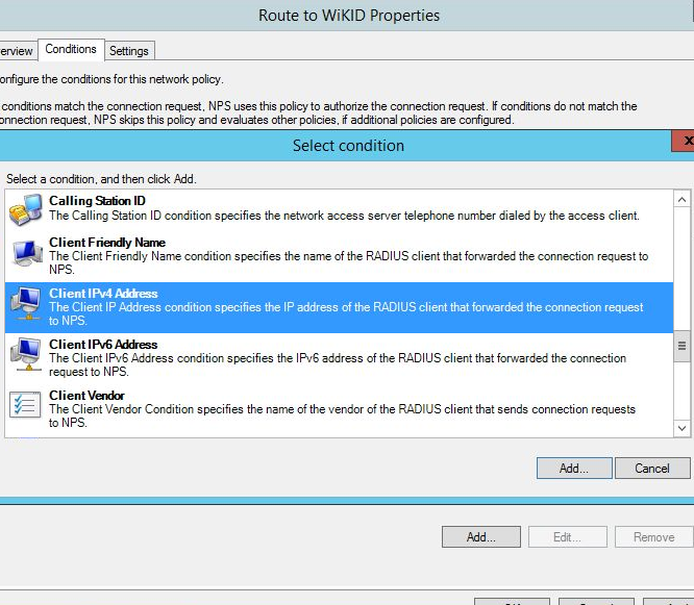
Click Next. Then Add to create a condition. Since we know all the requests will be coming from a certain IP address we can use Client IPv4 Address as the condition. NB: Many conditions that seem to make sense do not work. The similarly named "Access Client IPv4" or the "NAS IPv4 address" condition do not work!
Enter the IP address of the client, your VPN or whatever device.

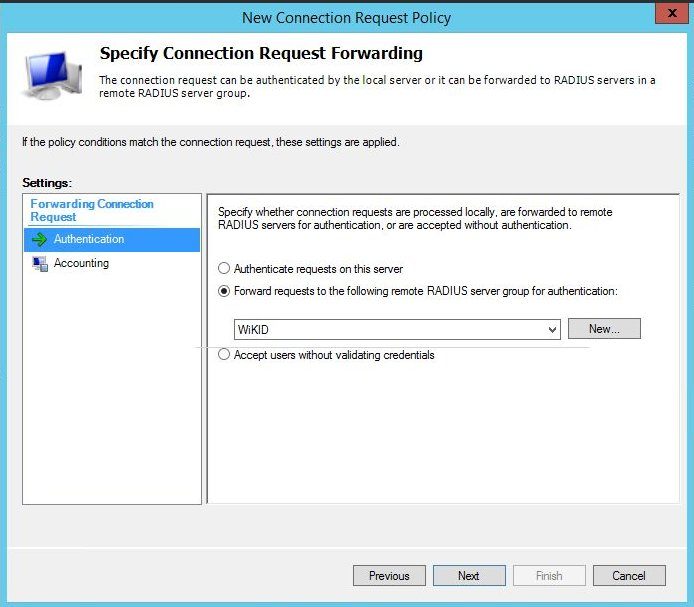
Click OK, then Next. Select Forward request to the following remote RADIUS server and the WiKID group in the drop down.
Select Next.
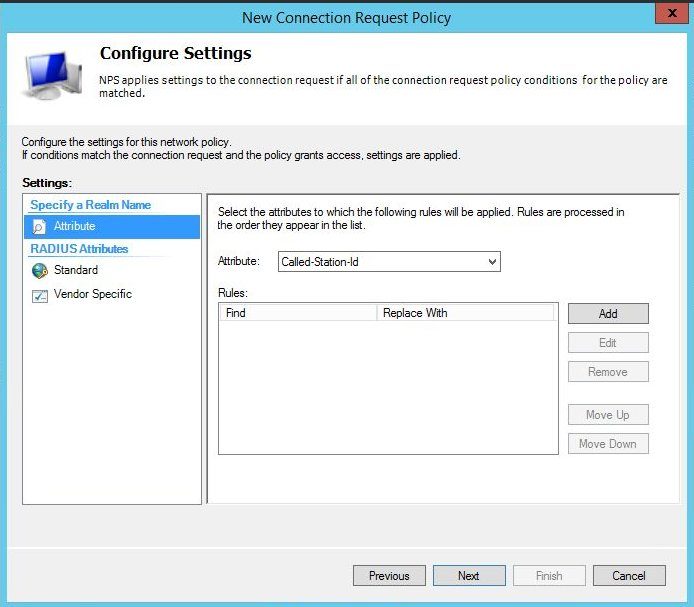
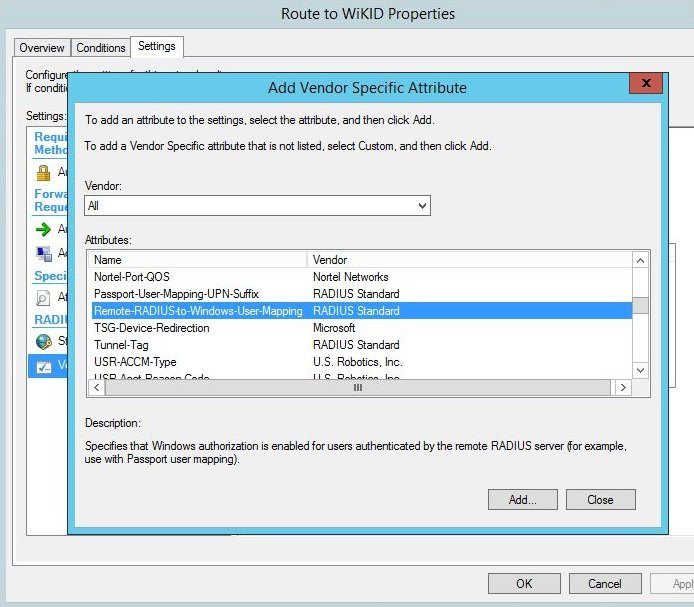
Click on Vendor Specific and Add. Scroll down and choose Remote-RADIUS-to-Windows-User-Mapping.
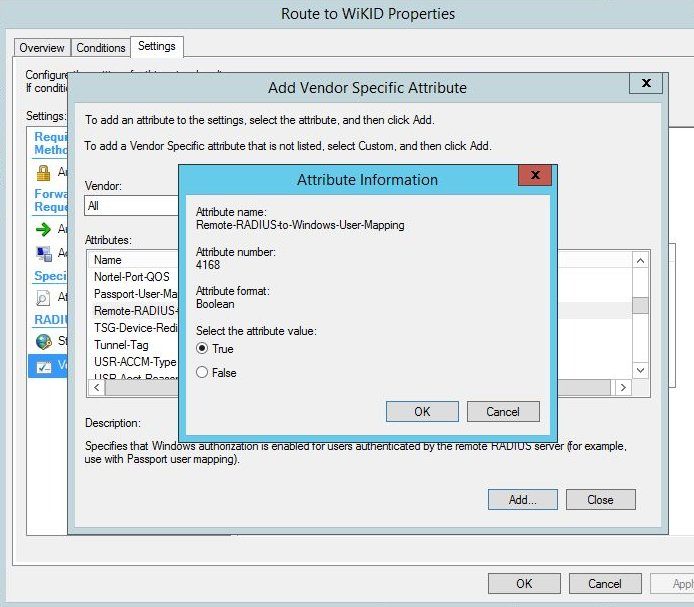
Set it it True.
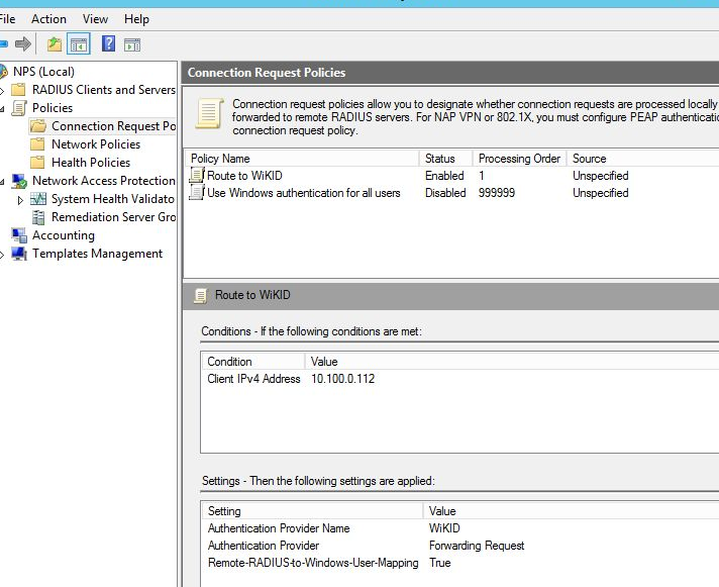
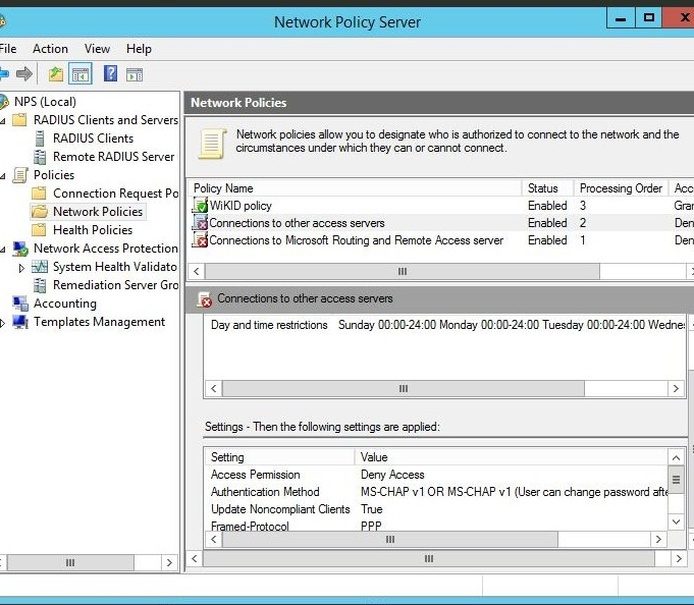
Then click Close. And Ok. Right click on "Use Windows Authentication for all users" and disable it. NPS should now look like this:
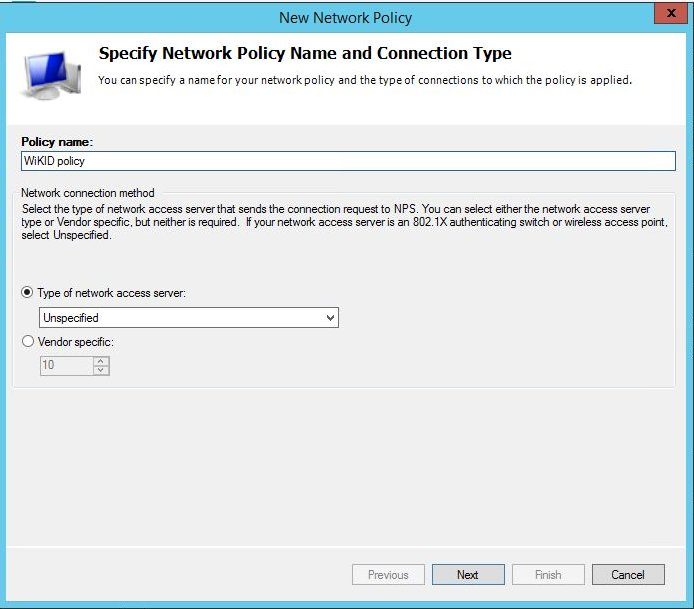
Now, we need to create a Network Policy. Isn't that what we just did? Why is it so complex? We don't know, ask Microsoft. Right click on Network Policy and select New.
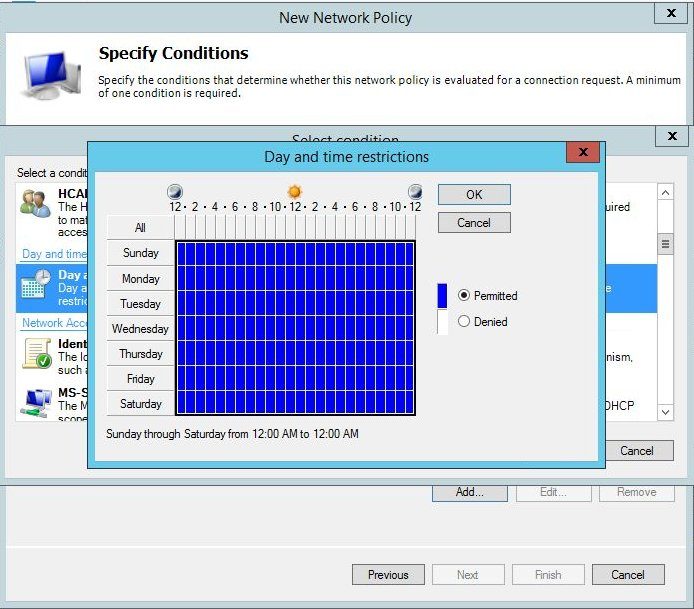
Click Next and add a condition. It appears that this must be a different condition than in the connection request policy. For testing, we added a pointless condition allowing users to login at any time. We recommend you start with this, test it and then come back and make a more restrictive constraint.
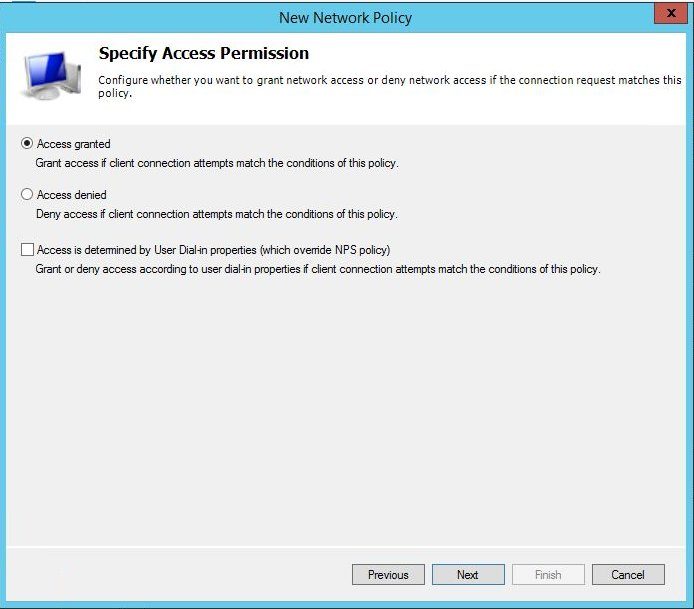
Next, specify that access should be granted.
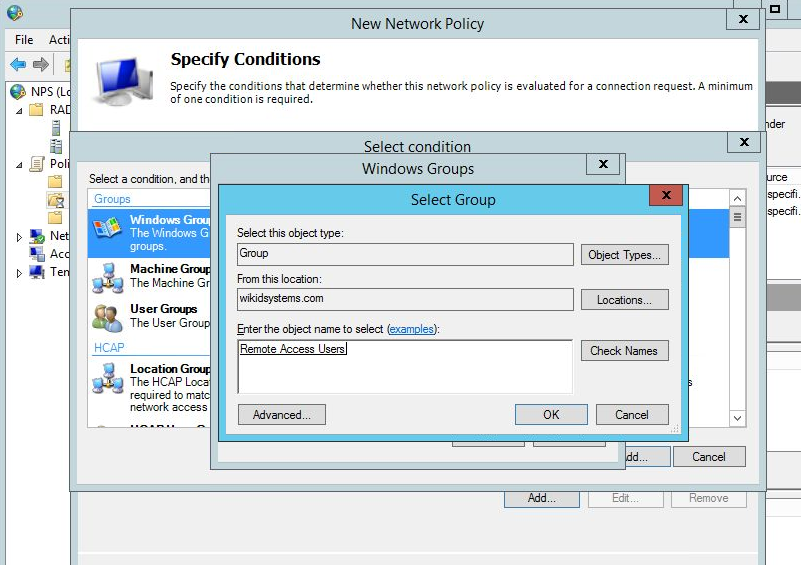
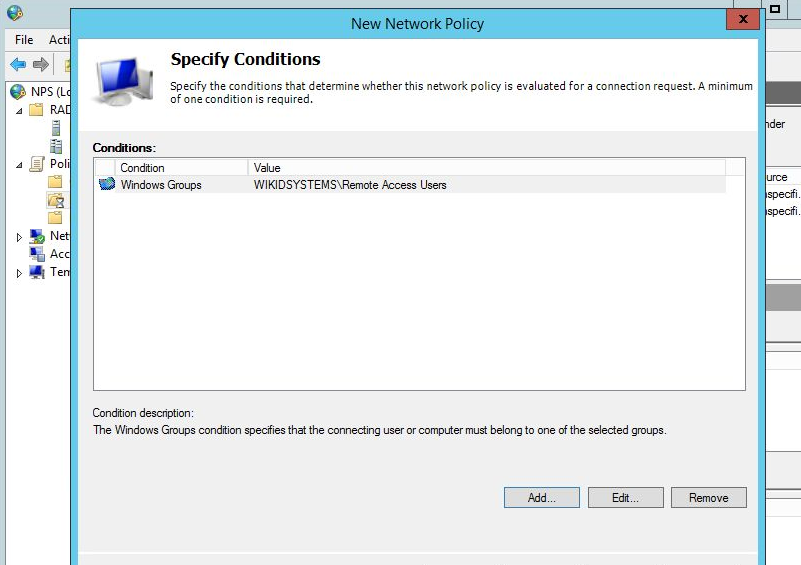
If that works, add a more restrictive constraint. Typically, you will want to make sure that the user is authorized for remote access by their group membership. Double-click on Windows Groups and choose the proper group for remote access.
This is the best way to continue to manage your users in AD and it is the best reason to use NPS. If an employee is fired or their permission change it is managed in AD. Simply disabling the user prevents them for getting access. Your AD admins (or HR) do not need to be admins on your two-factor authentication server.
Next, you can specify which EAP or CHAP/PAP protocols you want. Note that some services such as PAM-RADIUS only support PAP and that the encryption in CHAP is terrible. RADIUS should really only be used on trusted networks. Using one-time passcodes does limit the risks.
Click Next through the next three screens and then Finish. You should now have one enabled Network Policy.
That's it for NPS. Please see our document on Troubleshooting RADIUS on the WIKID server as well.